
How to Change Width of Column in Excel
This article will teach you two quick methods to adjust column width in Excel.
Adjusting column width in Excel
The width of columns in Excel can be changed in multiple ways, two of which are explained below.
Method 1: Using the ‘Column Width’ option to change the width of columns in Excel
Step 1: Select the column
Step 2: Right-click and select the ‘Column Width’ option
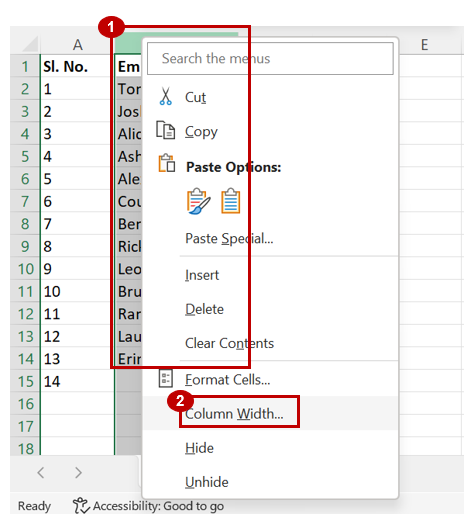
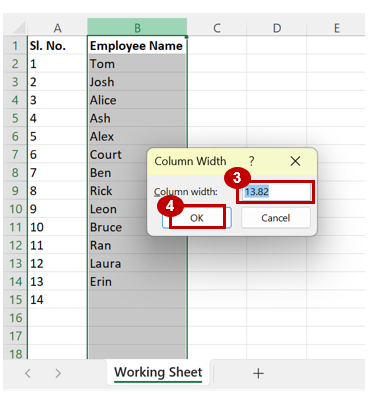
Step 3: Enter the width (each unit refers to the width of each character displayed in standard font style)
Step 4: Click ‘OK’
Note: To adjust the width of multiple columns together, select all the columns in step 1 and then continue with step 2 to 4 described above.
Method 2: Adjusting the width of columns in Excel with the mouse
Step 1: Select the column whose width you want to change
Step 2: Place the cursor towards the right edge of the column header
Step 3: When the cursor changes to a double-sided arrow, drag the column edge to the required width as indicated in the image below

Note: To adjust the width of multiple columns together, select all the columns in step 1 and then continue with step 2 and step 3 described above.
Analyze your live financial data in a snap in Google Sheets
Are you learning this formula to visualize financial data, build a financial model, or conduct financial analysis? In that case, LiveFlow may help you automate manual workflows, update numbers in real-time, and save time. You can access various financial templates on our website, from the simple Income Statement to Multi-Currency Consolidated Financial Statement. Are you interested in this product but are an Excel user? That’s not a problem at all. You can connect Google Sheets to Excel quickly.
To learn more about LiveFlow, book a demo.

You can learn about other Excel and Google Sheets formulas and tips that are not mentioned here on this page: LiveFlow‘s How to Guides


