
How to Swap Columns in Excel (3 Easy Methods Explained)
In this article, we'll explore various methods to swap or interchange columns in Excel. This task might seem simple, but it can be tricky if you don't know the right steps. We'll cover three methods: Cut and Insert Cut Cells, Drag-and-Drop, and the use of a helper column.
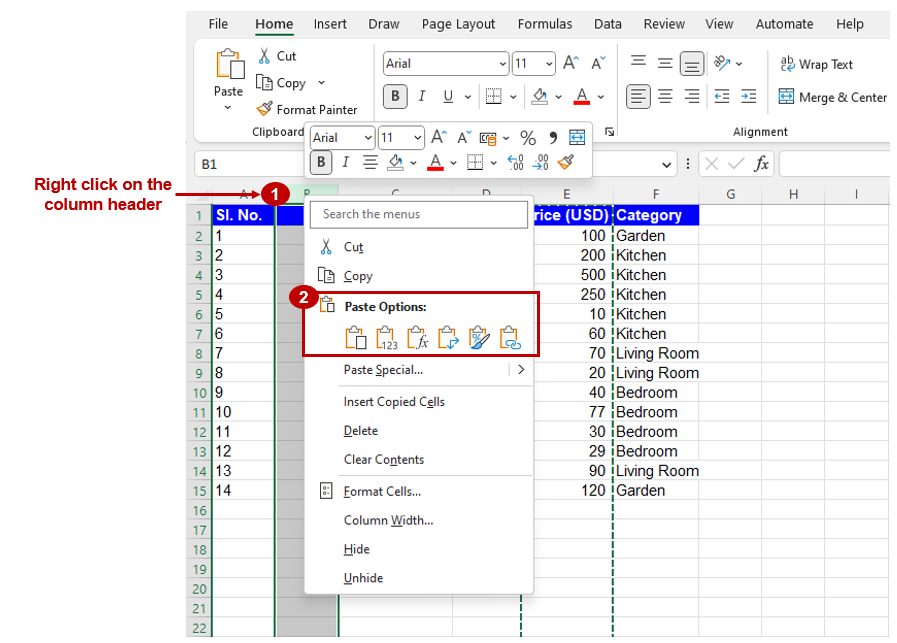
Method 1: Using ‘Cut’ and ‘Insert Cut Cells’ to swap columns in Excel
Step 1: Select the entire column
Click on the letter of the column you want to move to select it.
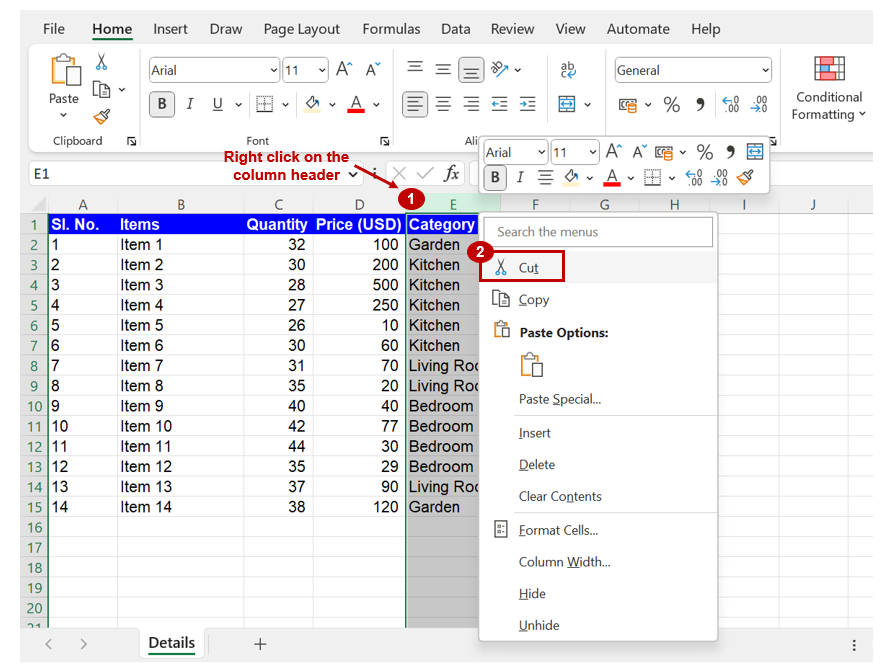
Step 2: Cut the column
Right-click on the selected column, then click 'Cut' from the drop-down menu. Alternatively, you can use the keyboard shortcuts “Ctrl” (“Command” in case of Mac) + “X” keys.
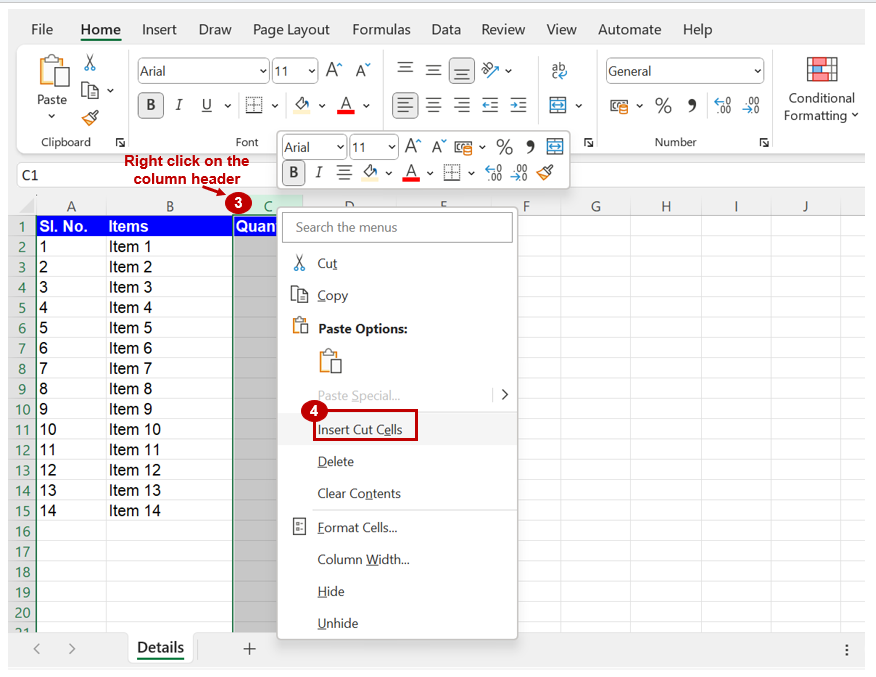
Step 3: Insert cut cells
Right-click on the column to the left of which you want the cut column to appear. Click 'Insert Cut Cells' from the drop-down menu. Repeat the process for all the other columns you want to move in Excel.
Note: This method works best when you want to swap adjacent columns in Excel. You can move multiple adjacent columns by selecting all the columns in step 1.
Learn How to Select Multiple Columns in Excel
Method 2: Drag-and-Drop to move columns in Excel
This method is quite simple and straightforward. Here's how you do it:
Step 1: Select the column
Click on the letter of the column you want to move to select it.
Step 2: Move the cursor
Move your cursor to the edge of the selected column in Excel. Your cursor should change to a symbol with four arrows.
Step 3: Drag and drop
Click and hold the left mouse button, then drag the column to where you want it to be. Release the mouse button to drop the column.

In case the destination column contains data, you will see the below message pop up. Click on ‘OK’ to replace the data in the destination column with the data from the column selected in step 1.

Note 1: The Drag-and-Drop method is quick and intuitive, but it might be a bit clumsy if you're dealing with a large spreadsheet or if you need to move a column far from its original position in Excel.
Note 2: Keep in mind that this approach can be used when you intend to interchange neighboring columns within Excel. To move multiple adjacent columns, simply select all the columns in the first step.
Learn How to Select Multiple Columns in Excel
Method 3: Adding a helper column to move columns in Excel
This method involves creating an additional column (known as helper column) to help with the swap of columns in Excel. It's particularly useful if the other methods are not suitable. Here are the steps:
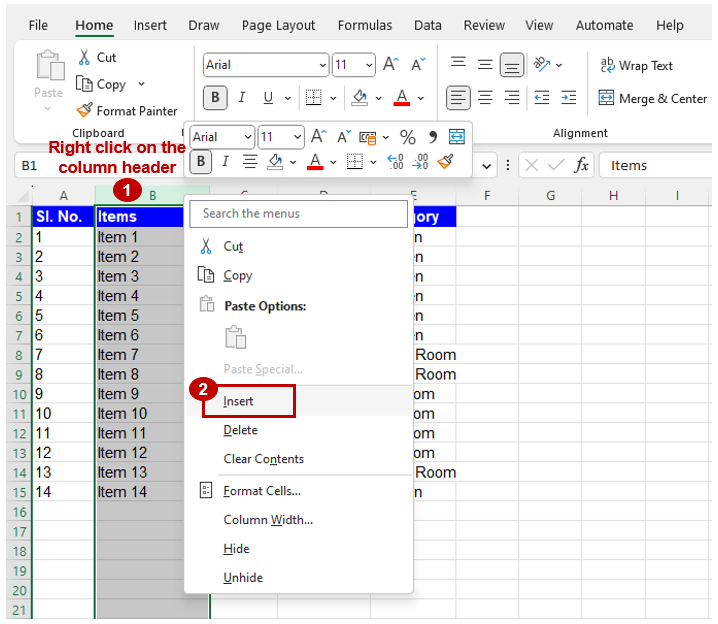
Step 1: Insert a new column
Right-click on the letter of the column (to the left of which you wish to move a column) and click on the ‘insert’ option.
For example: if you wish to move column D to the left of column B, then insert a column to the left of column B.
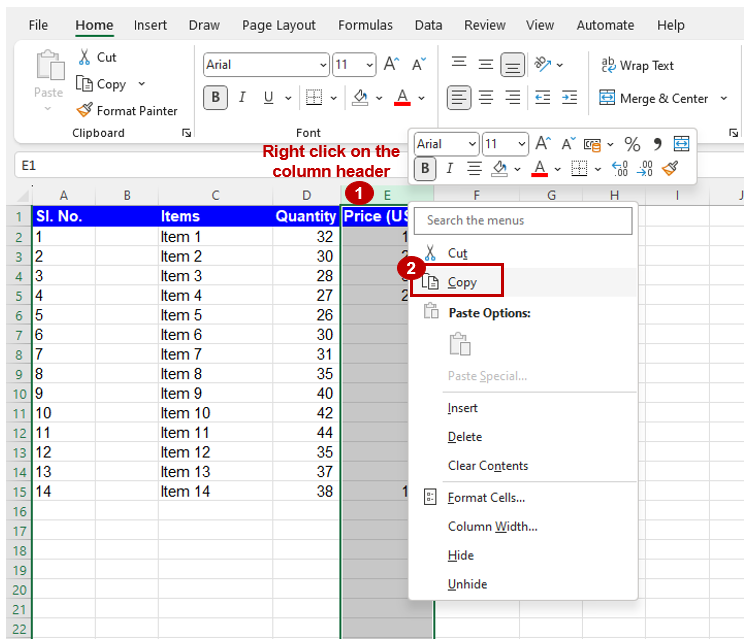
Step 2: Copy and paste
Copy the data from the column you want to move, then paste it into the new helper column.
Continuing the above example, copy data from column D (now column E after the helper column was added) and paste it to the newly created column B.
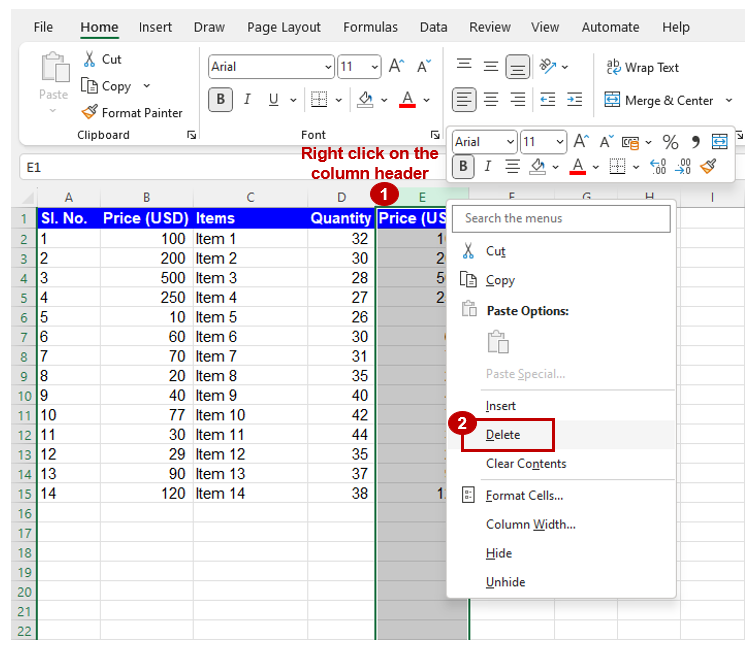
Step 3: Delete the original column
Right-click on the letter of the original column (column D, which has now become column E after the addition of the holder column), then click 'Delete' from the drop-down menu.
Step 4: Repeat for the other columns
Repeat these steps for the other columns you want to move.
Note: This method is a bit more time consuming, but it ensures that you won't accidentally overwrite or lose data in Excel.
Conclusion
Swapping columns in Excel is not a task you'll need to do every day, but it's certainly a handy skill to have. With these three easy methods, you should be able to move columns around in your spreadsheets with ease, whether they're adjacent or not, and whether you're dealing with small or large data sets.


