

If you use QuickBooks for accounting for your business, there will come a time when you will wonder how to void a check in QuickBooks online, why you should void a check instead of deleting it, and probably a few other things specific to voiding checks. You might even wonder how to void a payroll check in QuickBooks online or how to void and reissue a payroll check in QuickBooks online.
The first thing you need to know is that you can void a check in QuickBooks online. Now let’s look at the specifics.
Is it better to delete or void a check in QuickBooks?
When it comes to any kind of accounting, it’s always better to void than to delete. You always want to keep a record of the checks you’ve issued – even if they have been voided – just in case they turn up somewhere else. It’s not unheard of for fraudsters to alter void checks for financial gain, and if you still have a record of the check in your system, you’ll be able to spot these kinds of issues quickly.
When you void a check in QuickBooks online, you can also enter a reason that the action was taken. This helps if you ever need to go back in your accounting history to provide information or settle a dispute with a vendor or someone else.
How do I void a payment in QuickBooks online?
While you probably arrived here because you were looking for information about how to void a check in QuickBooks online, it’s worth knowing how to void other kinds of payments in QuickBooks online too. Most companies pay their bills using a variety of different methods, and if you need to void one or more transactions, here’s how you do it:
1. Login to your QuickBooks online account and then go to Bookkeeping
2. Select Transactions and then Expenses from the Transactions sub menu
3. Choose the Pay Bills Online option
4. Choose the Payments tab
5. Search for the payment you want to void
6. Select Track Status
7. Choose Void from the Track Status page
8. Choose the void request type
9. Enter a reason that you are voiding the payment
10. Submit Request
There are several reasons why you might need to void payments in QuickBooks online. Maybe you’ve cancelled an order, or maybe your supplier can’t deliver the item you need. Sometimes, you discover that you need to make the payment to a different company after it’s been entered into your system.
Whatever the reason, it’s best to void the payment in your accounting system so you still have a record of it, and don’t forget to add the reason! This will ensure that you always know why the payment was cancelled.
How do I void a check payment in QuickBooks?
The next thing you probably want to know is how to void a check in QuickBooks online. Fortunately, it’s a quick and easy process.
First, you will want to open the banking menu. Then search for the check you want to void and click on it. This will open a page with additional information about the check, and if you scroll down and click “More,” you will see the option to void the check.
Click yes, and then confirm that you want to void the check, and you should be done.
Sometimes, the check you need to void in QuickBooks is a payroll check. If you’re looking for information about how to void a payroll check in QuickBooks online or how to void and reissue a payroll check in QuickBooks online, the next section will apply.
To void a payroll check, you need to open the Employees menu and then select Edit / Void Paychecks.
Find the check you want to void, and then scroll to the void option again; click and confirm.
Sometimes, paychecks need to be voided because they are incorrect, or sometimes, an employee has already been paid by a different method. Whatever the reason, voiding a check like this (and keeping a record of the reason why) will help to keep your payroll department’s records accurate and up to date.
How do you void a check in QuickBooks without affecting prior periods?
So far, we’ve looked at how to void a check in QuickBooks online that has been entered in the current accounting period. However, that’s not always the case. Sometimes, you need to void a check that was entered in a prior accounting period. Here’s how that works:
1. Log in to QuickBooks Online
2. Click “New” from the dashboard to create a deposit that will offset the voided check amount
3. Choose “Bank Deposit” from the “Other” menu
4. Enter the vendor’s name in the “Received From” field
5. In the description field, enter “Entry to void check number # from a prior period.”
6. Enter the amount of the original check and save
7. Mark the original and the new deposit as reconciled
As you can see, the process of voiding a check from a prior period is a little more complex, so it’s a good idea to avoid writing checks until they are due so that you can limit these kinds of complex corrections in your accounting system.
Always Up to Date QuickBooks Reports
No matter how meticulous your accounting department is, the nature of business means there will always be minor corrections like voiding checks that need to be made in your accounting system.
While QuickBooks has many reporting options, you do need to run them manually to get up-to-date information, and if you want a custom report, there’s a lot more work to be done, exporting data, formatting it and preparing your spreadsheet-based custom report.
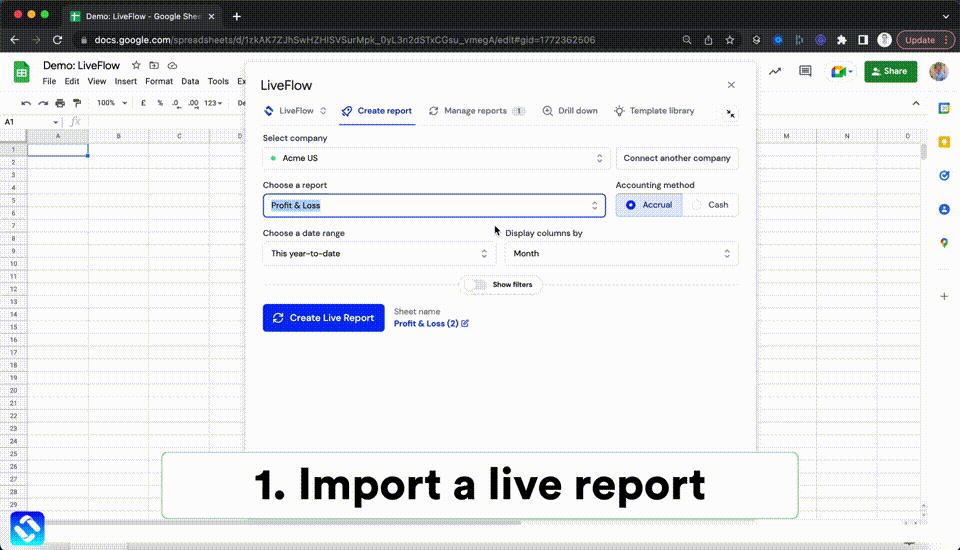
LiveFlow was designed to solve those reporting problems, thanks to its Google Sheets platform, which allows you to map QuickBooks data directly to your own Google Sheets spreadsheet-based reports. This means that you don’t have to give anyone access to QuickBooks simply to review reports – you can use pre-built templates or bring live data to any customized report you already have. This way, you only share what departments need to see.
The live integration between QuickBooks and your reports means that every time you make a change in QuickBooks, your reports will update too, and you never have to share access to your accounting system. Simply share your spreadsheets with people who need to see them.
If you’re ready to move away from manual reporting and get up-to-date financial reports in real time, contact the LiveFlow team. We’re happy to answer any questions you have about the platform or to schedule a live demo so you can see it all in action yourself.

.png)


