If you're using Microsoft Excel for accounting and bookkeeping, then to import transactions into QuickBooks from Excel can be a hassle. Instead, you may want to import your transactions from Excel so that QuickBooks can keep track of your financial data automatically, this can save you a ton of time in the long run.
This article goes through the steps you need to take and the things you need to consider when importing data into QuickBooks from Microsoft Excel.
Can you import transactions into QuickBooks?
Absolutely. Whether you want to pull data from a QuickBooks template, Excel document, or CSV file, you can import transactions directly into QuickBooks. This process will help you save time, stay organized, and ensure you don’t miss any transactions when balancing your books at the end of the month.
You can also track where the money came from and where it was spent by clicking on the transaction and viewing the details. QuickBooks will create a new invoice, sales receipt, or bill for each transaction you import. You’ll be able to see the totals for each line item and the grand total, which makes it easy to review your bookkeeping at the end of the month.
Can QuickBooks pull data from Excel?
Yes, QuickBooks can import financial data from Excel. This is one of the easiest ways to get data into your books without having to do everything manually.
You can follow these steps to pull data from Excel and into QuickBooks:
1. First, open the Excel file and make sure it is saved as an XLSX file. QuickBooks can read many spreadsheet formats, but it is best to use the XLSX format for consistency.
2. Next, open QuickBooks and go to File > Data > Import > Excel. QuickBooks will open a new Import window. Select the Import Data tab on this window, choose the Excel file you want to import, and click Next.
3. Select the type of data you want to import. You can import transactions, inventory data, customers and vendor data, or other types of data into QuickBooks using the dropdown menu on the Import Data tab.
That’s really all there is to it. All you need to do is follow these three simple steps and you’ll be able to import all of your Excel data into QuickBooks. This will save you a ton of time and stress in the long run, so it’s worth doing today.
How do I import CSV transactions into QuickBooks Desktop?
If your transactions are stored in a CSV file, you’ll need to import them into QuickBooks Desktop using an IIF (Interchange File) file. You can do this using the Create Journal Entries feature or by importing the transaction file.
To import a CSV file, follow these four steps:
1. Open the “Create Journal Entry” window in QuickBooks Desktop
2. Click the “From Other Transaction” button.
3. Select the Import tab and click “From File”.
4. Select the CSV file and click “Open”.
How do you convert Excel to IIF files?
You can use the Create Journal Entry feature to convert Excel data to an IIF file and then import it directly into QuickBooks Desktop. This is a quick and easy way to import multiple transactions at once.
To import Excel data using the Create Journal Entries feature, follow these three simple steps:
1. Click the tab for the type of data you want to import and then select the Excel option from the drop-down menu.
2. Click the button to change the Excel option to the type of data you want to import. In this case, IIF. Then, click Create.
3. Next, you’ll see a Create Journal Entry window open with the data you selected. If you need to edit the data, you can do so by clicking on the transaction and making the changes you need.
Summary
There are several ways to import transactions into QuickBooks from Excel. If you want to import data from a single Excel file, you can use the Import feature. If you have several Excel files, you can use the Create Journal Entries feature to consolidate your data.
If you have CSV files from a third-party application, you’ll need to import them into QuickBooks by converting them to IIF files. Once the transactions are imported into QuickBooks, you can easily track them and make sure your balances are correct.
Recommendation
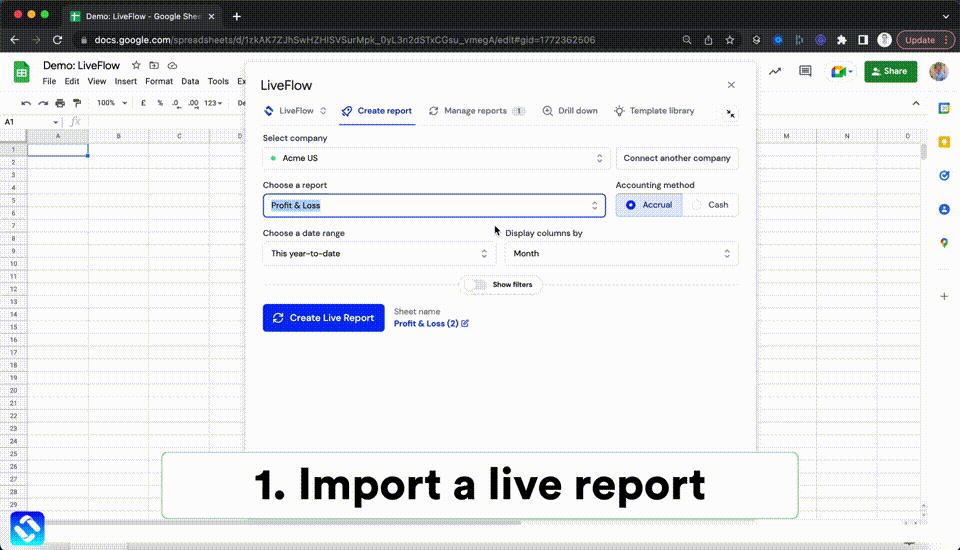
QuickBooks is great, but it is missing a few features that would make it even better. Fortunately, LiveFlow can fill in the gaps. LiveFlow is an excellent financial accounting platform that offers useful templates, and some handy tools, such as the new Live Budget vs Actuals tool, which can save you time, money, and stress.
You can explore all of the great features of LiveFlow for free with a 30-minute demo, so if you want to ensure that your accounting process is efficient, seamless, and automated, then be sure to check out LiveFlow today.